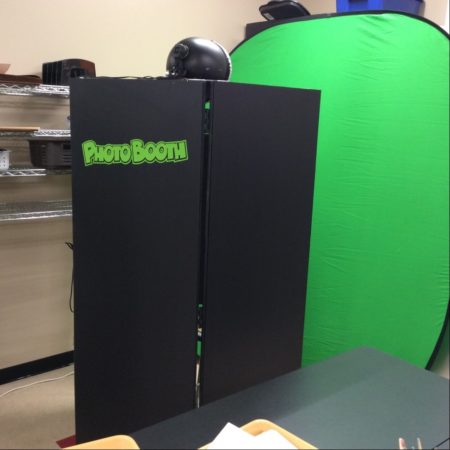
Each year, my more advance art classes do a project using a photo of themselves as a reference. I have a number of projects that may use these and I add to the list regularly. Earlier in the year, I have the students take digital photos which I keep on file until we are ready for them. I always had to set up my camera in the back of the room for a week or two while the photos are taken. I quickly found that students are more at ease and it is less distracting if I set up a screen of some sort with the camera behind it. I have used cardboard and other things for this set up. This year, I decided to build a free-standing screen to be a “photo booth” that doesn’t use up a table and takes up less room. I can also mount some lighting easily on it. It’s working out pretty good.
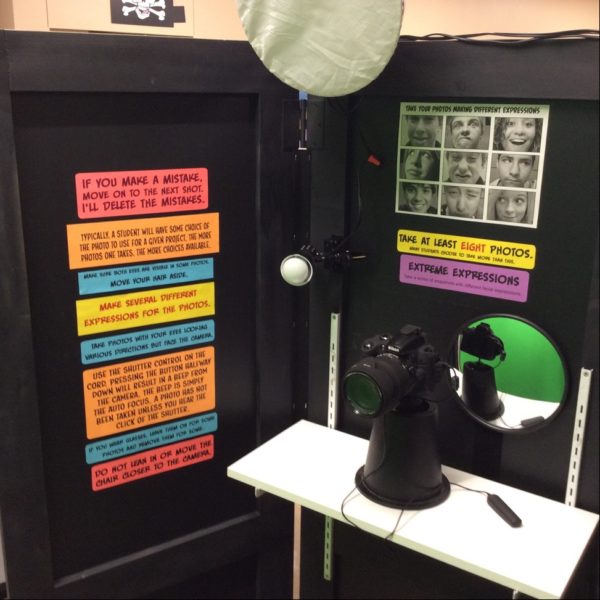
I built a frame of 1×4 pine consisting of three panels that are designed to fold in on themselves and be easily stored. I use door hinges to connect them. Black corrugated plastic panels are attached to the frame. Rail and bracket shelving allows me to set up the camera and break it down easily. There is also plenty of room inside to display instructions and examples. I mounted a removable lamp on top and used velcro for a smaller lamp and mirror. The convex mirror is mounted behind the camera so students can preview the image on the screen after each photo if they like. I use a wired shutter remote with the camera. It is the only button the students need to use to take as many photos as they like.